
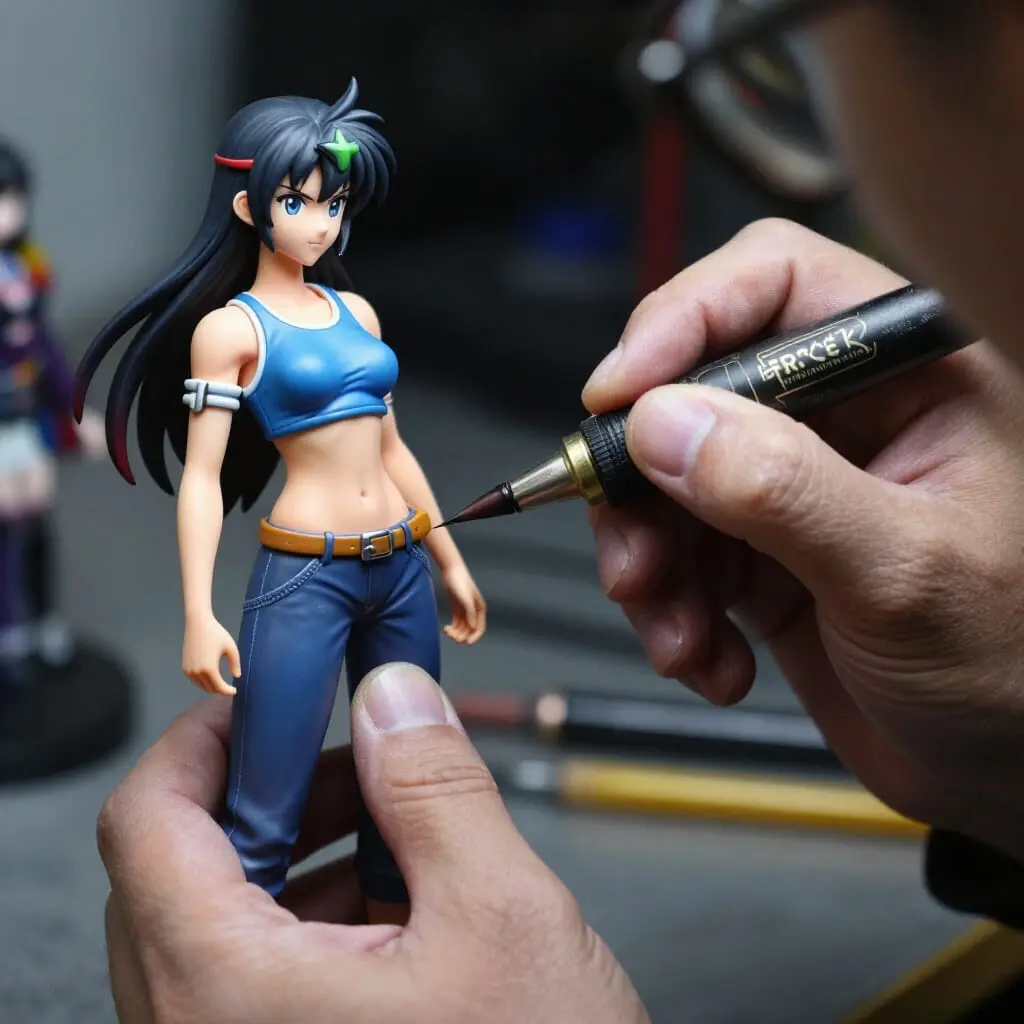
Garage Kit Painting and Finishing Techniques: Bringing Your Resin Figures to Life
Painting is one of the most important stages in creating a garage kit. It transforms a raw resin figure, often supplied unpainted and in separate parts, into a unique, personalized collectible.
Whether you’re a beginner or an experienced model maker, mastering painting and finishing techniques can dramatically improve the final appearance of your figure. Color selection, surface preparation, paint application, shading, and texture effects all contribute to giving the model its own character.
In this section, explore all our guides to painting garage kits and improving your skills step by step.
Preparing a Figure for Painting
Successful painting always starts with proper preparation. Before applying any paint, the resin surface must be thoroughly cleaned and prepared to receive the different layers.
This stage usually includes cleaning the parts, removing mold lines, sanding imperfections, and applying a suitable primer.
Careful preparation helps paint adhere better and produces a more professional finish.
Choosing the Right Paints for a Garage Kit
The choice of paint depends on the desired style and the techniques you plan to use. Garage kit enthusiasts primarily use acrylic paints designed for figures and scale modeling.
Paint can be applied in several ways:
- With a brush for fine details and small areas;
- With an airbrush for smooth gradients and large surfaces;
- Using layering techniques to create shadows and a sense of depth.
Each method has its own advantages and can produce different results depending on the desired level of finish.
Essential Techniques for Painting Resin Figures
If you’re just starting out, it’s important to master a few fundamental techniques.
Base Coating
The first coat of paint provides even coverage and creates a solid foundation for the following layers.
Shading and Highlighting
The interplay of light and shadow adds depth and dimension to a figure. It helps emphasize clothing folds, facial features, and the details of armor.
Washes and Detail Accents
These techniques help bring out recessed areas and highlight the sculpted details of a figure.
Finishing Touches
The final details bring the figure to life: material effects, eye details, hair textures, accessories, and decorative elements.
Using an Airbrush for a Professional Finish
The airbrush is a popular tool in the garage kit hobby. It makes it possible to achieve smooth color transitions, precise gradients, and even coverage across large surfaces.
Although it takes some practice to master, the airbrush quickly becomes a valuable tool for achieving a higher-quality finish on your figures.
Protecting and Showcasing Your Figure
Once the painting is complete, finishing techniques help protect your work and enhance the appearance of the figure.
Applying a suitable clear coat protects the paint from handling and dust. Choosing between a matte, satin, or gloss finish depends on the look you want to achieve.
Presentation also matters: a custom base, carefully planned lighting, a protective display case, or a small diorama can turn a simple figure into a true display piece.
Learn Garage Kit Painting Step by Step
Painting a resin figure takes patience and practice. Every project is an opportunity to improve your skills and discover new techniques.
Our painting and finishing guides cover every stage of the process: surface preparation, choosing the right tools and materials, painting techniques, advanced effects, and tips for achieving a clean, durable finish.