
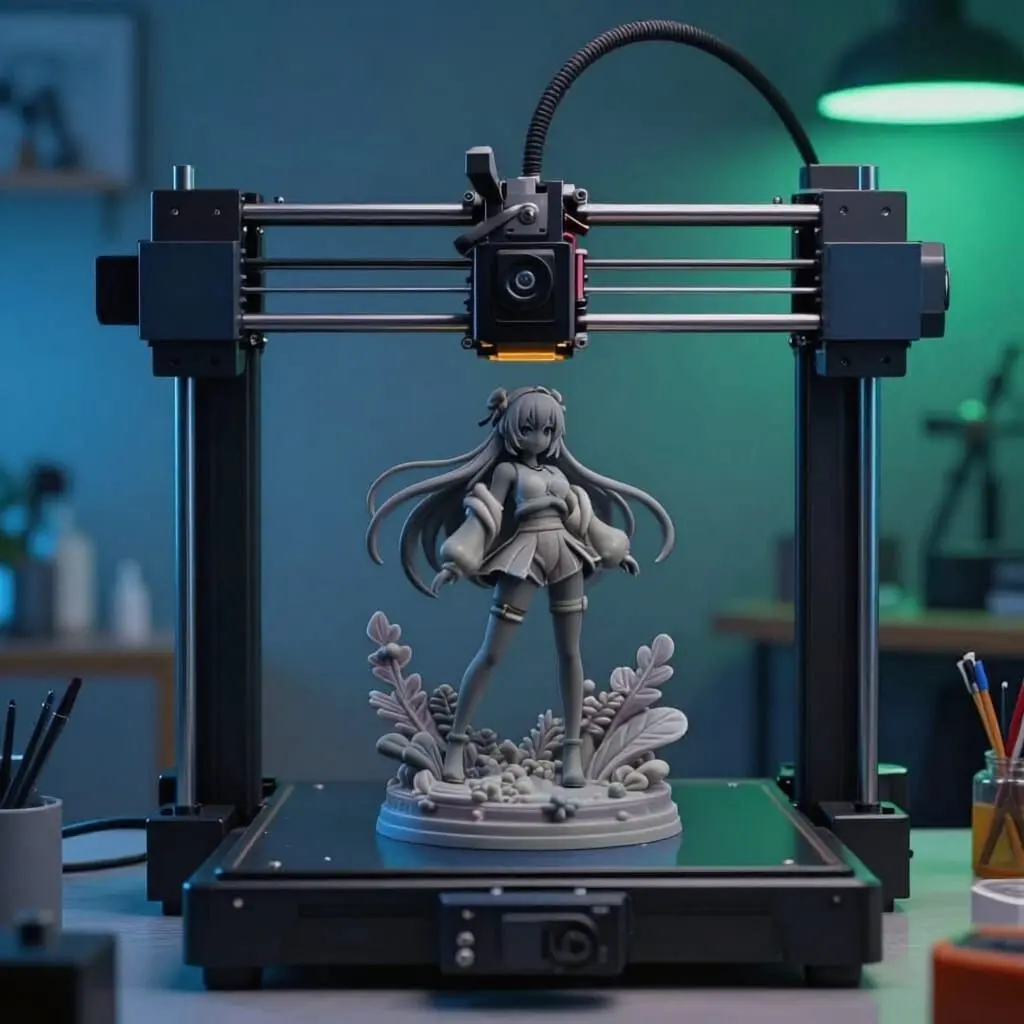
3D Printing for Garage Kits: Create and Make Your Own Resin Figures
3D printing has profoundly transformed the world of garage kits. Today, it is possible to create, modify, or print resin figures with a level of detail that was once only achievable by professional manufacturers. Whether you’re a collector, a painter, or a digital sculptor, 3D printing opens up new possibilities for designing unique models.
This technology allows you to print both original creations and 3D files designed by independent artists. With a suitable resin 3D printer and some basic knowledge, anyone can make their own garage kits at home.
In this section, discover our tips for understanding 3D printing for garage kits, choosing the right equipment, and producing high-quality figures.
Why Use 3D Printing for Garage Kits?
3D printing offers tremendous creative freedom. It gives you access to a vast catalog of digital models, allows you to customize certain features, and makes it possible to produce figures in small batches.
Compared with traditional manufacturing methods, it offers several advantages:
- Print models directly at home;
- Reproduce extremely fine details with resin 3D printers;
- Modify or resize a model before printing;
- Create replacement parts when something breaks;
- Produce original designs from 3D files.
This flexibility appeals to beginners and experienced model-making enthusiasts alike.
Choosing a 3D Printer for Garage Kits
For producing high-quality figures, resin 3D printers (SLA, MSLA, or LCD) are now the preferred choice. They offer excellent precision and can reproduce even the finest details of a sculpture.
When choosing a printer, several factors should be considered:
- Print resolution;
- Available build volume;
- Printing speed;
- Ease of use;
- Cost of consumables.
Choosing the right equipment is essential for achieving clean results from your very first projects.
Choosing the Right Resin
Not all resins have the same properties. Some prioritize fine detail, while others offer greater mechanical strength or increased flexibility.
The right choice depends on the type and size of the figure and how it will be used. Suitable resin also makes cleaning, sanding, and painting easier.
From Digital Sculpting to a Finished Figure
Creating a garage kit often begins with a digital sculpture made on a computer using 3D modeling software.
Once the model is complete, it must be prepared for printing using slicing software, which allows you to define:
- Part orientation;
- Print supports;
- Resolution settings;
- Exposure time for each layer.
This preparation plays a crucial role in the final quality of the figure.
Post-Processing: What to Do After Printing
A freshly printed figure is not yet ready for painting.
Several steps are usually required:
- Remove the supports;
- Clean the parts;
- Carry out post-processing and UV curing;
- Sand small marks left by the supports;
- Assemble the different parts of the garage kit.
A good finish ensures a clean surface before applying primer and paint.
Downloading or Creating Your Own 3D Files
Many artists offer their creations as STL files designed for 3D printing. You can also design your own models using digital sculpting software.
Before printing or sharing a file, it’s important to respect the creator’s license terms. Some licenses allow personal use only, while others permit the sale of printed models under certain conditions.
Explore All Our 3D Printing Guides
3D printing has become an essential tool for garage kit enthusiasts. Whether you want to buy your first resin printer, learn how to prepare an STL file, or improve the quality of your prints, our guides will walk you through every step.
Explore all our articles on 3D printing for garage kits below and gradually develop your skills.